I have fallen in love with tea. Well, technically I loved tea already as a drink, in many forms, un-doctored chai, real Darjeeling and "Chinese gunpowder" varieties in particular...but for use in art, it has captured my fancy. A favorite fantasy artist of mine,
Laura Pelick, creates some of her beautiful illustrations using a classic tea process. Her work is stunning and inspiring.
There is heating and air conditioning company in my city with a longtime jingle of "often imitated, but never duplicated" and like this, each tea stain is unique! Processes may be varied- online you will find loose leaf and unbroken bags used and also in tandem with other add-ins. I learned this process as it was shared with me by another artist and made some variations myself, normally I will mix in resists, other paint washes, and whatever I can to try to make it my own...
At age 15 for props a school production of Midsummer Night's dream we used the tea-bag staining technique on plain paper (the kind that comes in big rolls at the craft store) to make book pages look antiqued and crinkly... with better quality paper the results can be used for vintage stationary or a toned surface for drawing or painting.
For anyone wanting to try the process here is a simple tutorial here you can try at home- and it is kid safe if you want to get your family involved!
You will need:


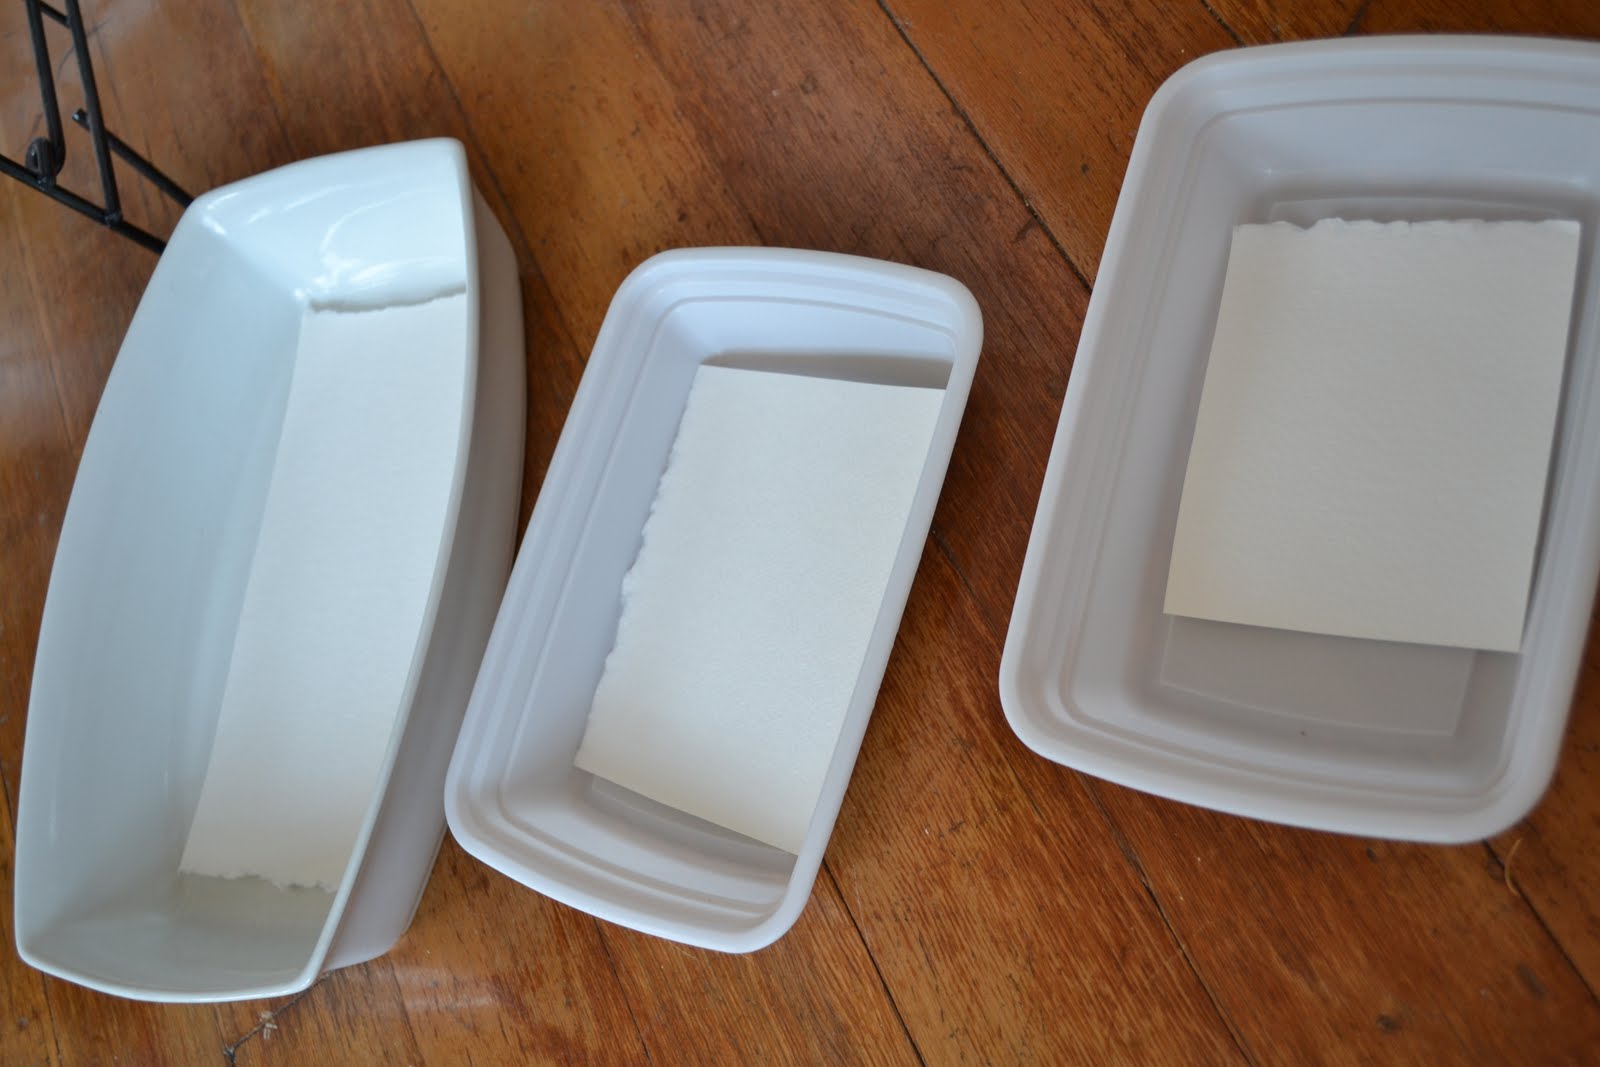
- some containers that will hold the tea, at least slightly larger than the size of your paper. (I have used plastic tubs, for this tutorial I used recycled plastic chinese food containers that had been washed and sterilized for small pieces you can use the lids too if they are deep enough- yay going green!)
- your paper- for this tutorial I am using 300 lb cold press watercolor paper, because it is very absorbent, and does not curl as much as a cheaper paper. I have used 90 lb before too, figure out what you like best.
- a place to dry or stretch your paper. *depending on the type of paper you are using/art you are making, you may be choosing to stretch 300 lb watercolor paper, or simply hang the paper to dry. Make sure you won't accidentally "tea-stain" something you don't want to!
- your TEA! the type of tea you use will dictate the color you will get. more on this later. I am also using a tiny bit of wine in this tutorial (optional).
 |
| black tea with orange pekoe is in on the left, green tea in the middle, and wine is in the little bowl on the right- it is for accents! You can do a huge amount in a large container in one "batch", or vary a little. You will see later the different teas will color the paper different and it is fun to experiment! I have some extra water there also because it looks like I have more tea leaves in the black/pekoe bowl than water, if you find you are running out you can steep more tea or add a little more water..... |
 |
| add your tea slowly when it is not super hot (I like the leaves on the paper too because it will add variations)- I took the brush and dropped merlot wine into these two on the edges to give some purple tints...do not move them or they will get blended! leave for a few hours- the longer, the darker result, until the paper cannot absorb anymore... |
 |
| drying like on a clothesline! since these are small I will not worry about stretching them, and will brush off extra tea leaves as they dry more (I don't want to streak any cool stains!) |
 |
a handful of finished pieces! the orange pekoe/black blend came out a lovely color and the green/merlot has some neat starburst-like spots! (alcohol on watercolor paper will resist a little so wine can do this to some extent) now to paint them!
|
Below are a few pieces I have created utilizing tea:
For more art and info-
visit the site.


Comments